Adding Customer Records
![]() Updated
by
BCH Digital Support
Updated
by
BCH Digital Support
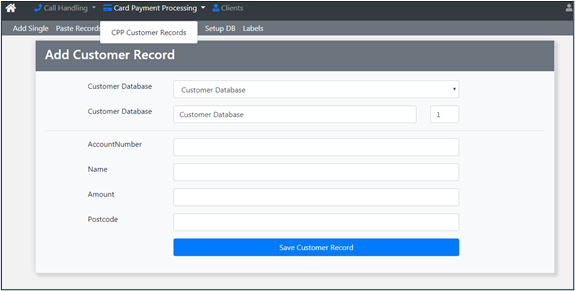
This user guide will help you to add customer records using an API. To set this up go to ‘Customer Records’ which is within ‘Card Payment Processing’
The following steps will help you to set up the API to insert data.
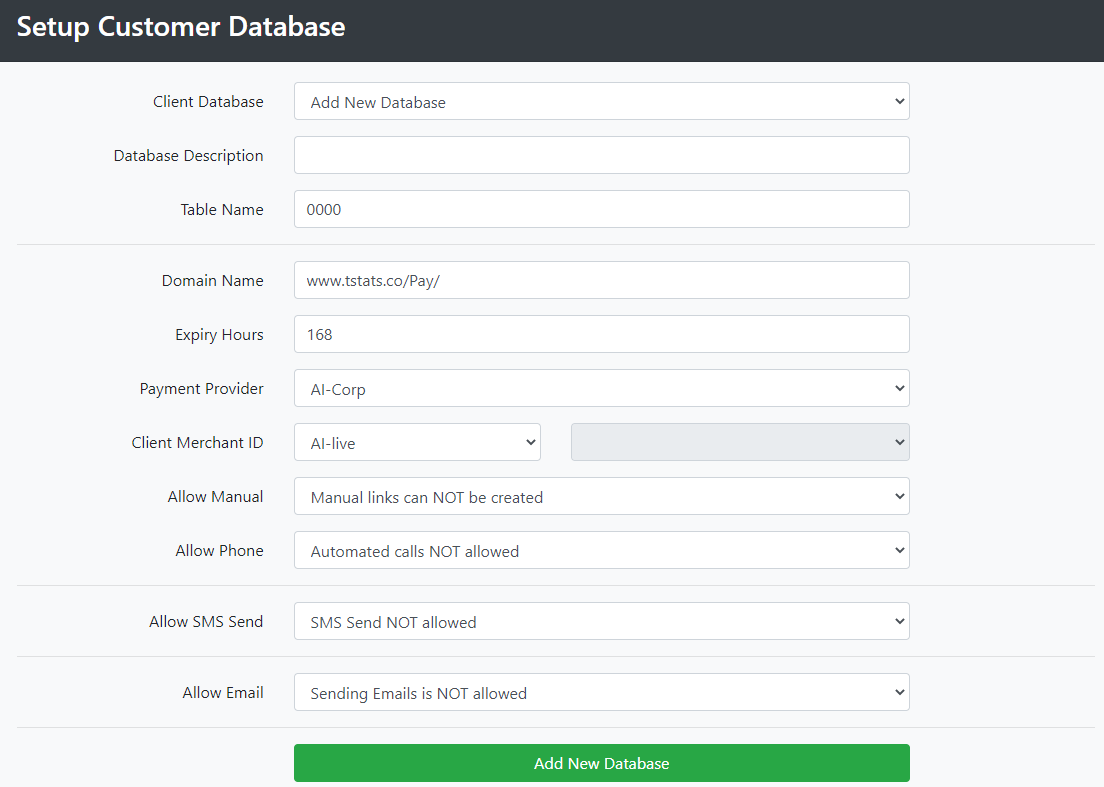
1. Create a database ID
Make sure that ‘Add New Database’ is selected from the dropdown list. You can then add the description, for example ‘Test Database’ and press the ‘Add New Database’ button. Your new database will be added to the dropdown list and the number shown in brackets beside it is the database ID. Unless you are using the Unite service, there's no need to complete the sections for Domain, SMS and Email.
2. Setting up the database
To set up how you would like the database to behave select ‘Labels’ from the top menu. You will then be taken to the ‘Database Column Setup’ page.
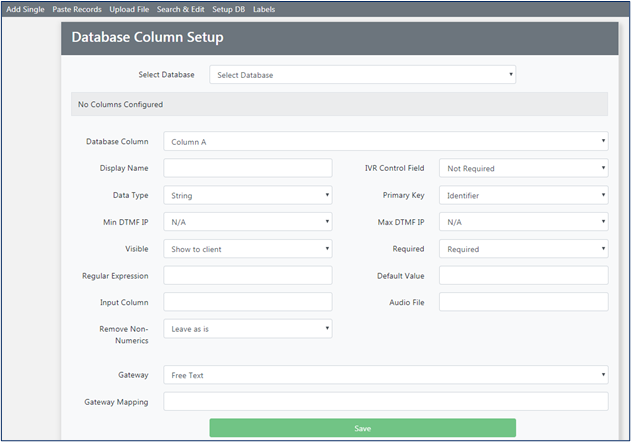
Here you can select the database you want to set up from the dropdown list called ‘Select Database’.
To set up a column select it from the dropdown list called ‘Database Column’. You can then set up how you would like this column to behave using the fields on this page.
Primary key
The primary column flags determine how the data is to be managed in terms of inserts and updates. If the primary keys are present, then the other data is updated. If the primary keys are not present, then a new row will be inserted.
3. Single or Batches
You will then need to decide if you want to upload in singles or batches.
Singles
If you are uploading singles, then the JSON should look like this –
{
"colA":"123456"
}
Batches
If you are uploading batches, then the JSON should look like this –
[{
"colA":"123456",
"colB":"123456",
"colC":"123456",
"colD":"123456",
"colE":"123456",
"colF":"123456",
"colG":"123456",
"colJ":"123456"
},
{
"colA":"123456",
"colB":"123456",
"colC":"123456",
"colD":"123456",
"colE":"123456",
"colF":"123456",
"colG":"123456",
"colJ":"123456"
}]
4. Generating the hash
Use the JSON string to generate the hash. Here is an example –
private static string GenerateHash(int clientId, int dbid, String password, String data)
{
    var plainData = Encoding.UTF8.GetBytes(cid.ToString() + dbid.ToString() + password + PostData));
    HashAlgorithm sha = new SHA512Managed();
    var hashedData = sha.ComputeHash(plainData);
    return HttpServerUtility.UrlTokenEncode(hashedData);
}
In c# you will need to remove the @ line feeds when generating the hash using the below. Converting to JSON and then back to string.
string PostData = JsonConvert.SerializeObject(JsonConvert.DeserializeObject(@"<body>;
5. Building the URL
To build the URL you will need to know the following information –
Client ID (cid)
Database ID (dbid)
The hash you have just generated
The URL should look like this –
https://api.pay-tel.co.uk/cppdb/api/database?cid=XXXX&dbid=XX&Hash=[The generated Hash from above]
6. POST
The body of the POST payload will be of type “Application/Json” and will contain the JSON generated in the steps above.
There is no http auth.
7. Error and response meanings
You may receive the following error and response codes –
Invalid clientid
Invalid database ID
Invalid hash
The response will contain counts of rows affected and any invalid entries.