Switchboard Quick Start
![]() Updated
by
BCH Digital Support
Updated
by
BCH Digital Support
Setting up the service
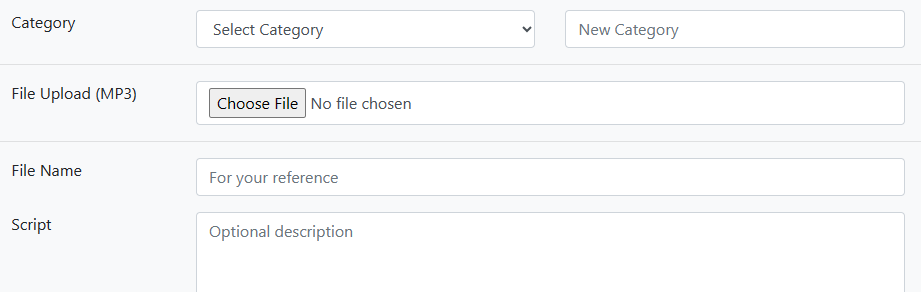
You can start with uploading any audio you have in Global Settings > Audio Database. Click on Add New then add the audio in the correct Category or create a New Category.
Accessing Switchboard
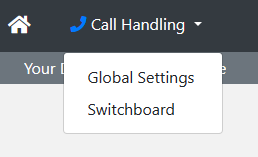
You can find Switchboard under Call Handling:
Voicemail
Begin with creating a Voicemail inbox:

You can add a Description, play any custom audio and how and to who the voicemail is sent to.
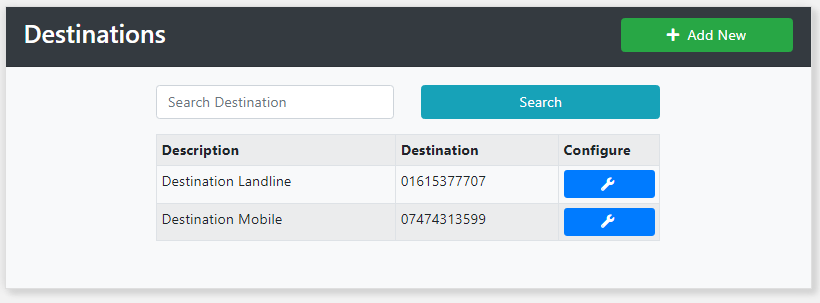
External Destinations
Add any external destinations for use in the service. This will generally be your customer's end destination numbers.

Click Add New to create destinations and configure settings such as timeout and how many concurrent calls the destination can take.
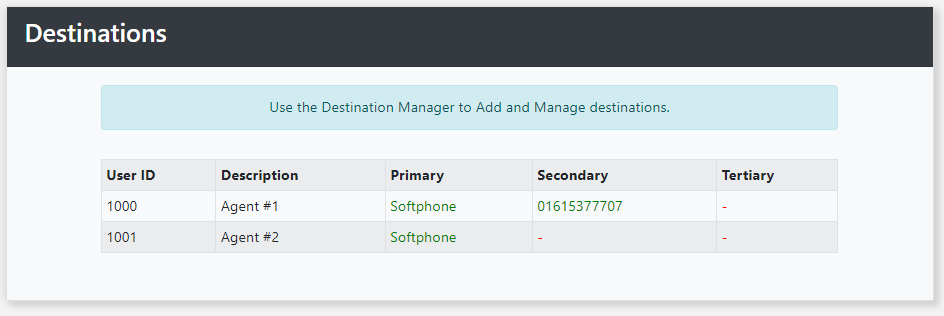
Destinations
Destinations will show you any Softphone users that you have created and their destinations. These can be added to Huntgroups.
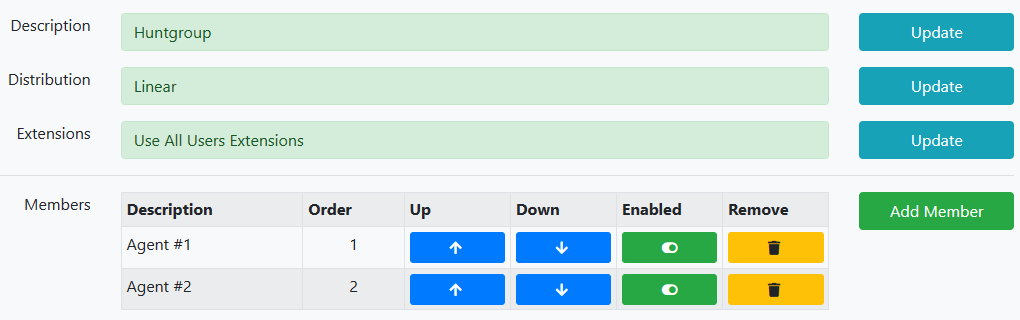
Huntgroups
Create Huntgroups with Softphone users.

Adding 2+ Agents to the huntgroup allows you to choose a Distribution type from: Linear, Longest Waiting, Skill Based or Concurrent.
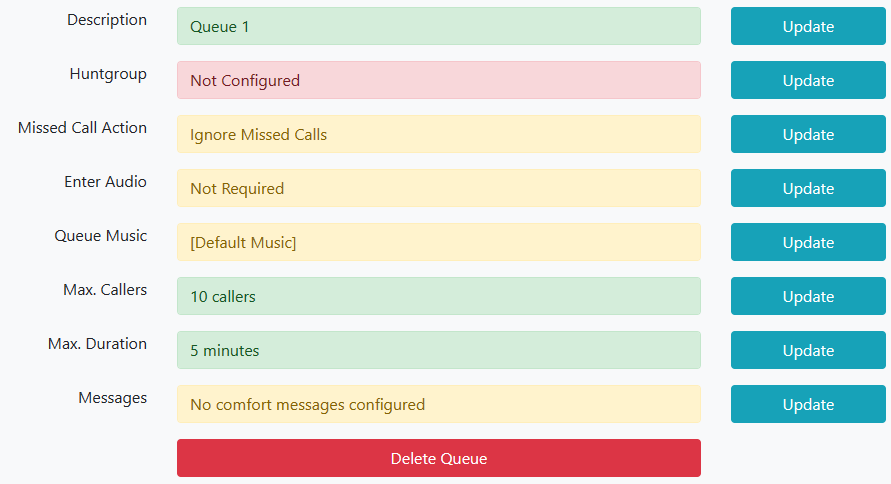
Queues
Queues can be created using the Huntgroups.

Select a Huntgroup from the dropdown and configure any further settings needed
Call Flows
Click on Add New, give it a description and then click Save.

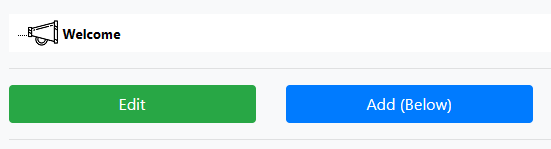
Click on the Edit Flow button and you will see a similar node tree of the legacy Virtual Receptionist service. First build the Flow nodes out completely before configuring each individually. Click on the Welcome node and then Add (Below):
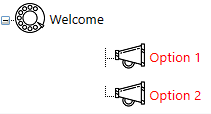
Your node will now display beneath the Welcome node. Adding another below to the Welcome node will turn it in to a Menu node:
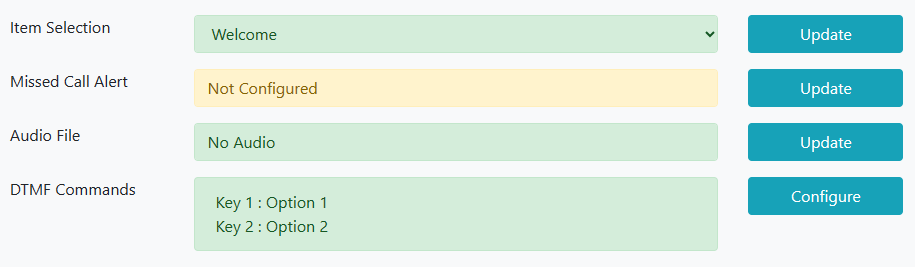
Once you're node tree is complete you need to edit each node. Click on Welcome and then Edit. Now you can set any Missed Call Alerts, upload the welcome/menu audio and configure any more DTMF Commands that aren't part of the normal call flow (eg, press 0 to repeat prompt)
Click Back and then select the routing node you want to configure and then click Edit. You can now edit Missed Call Alerts or add another audio file.
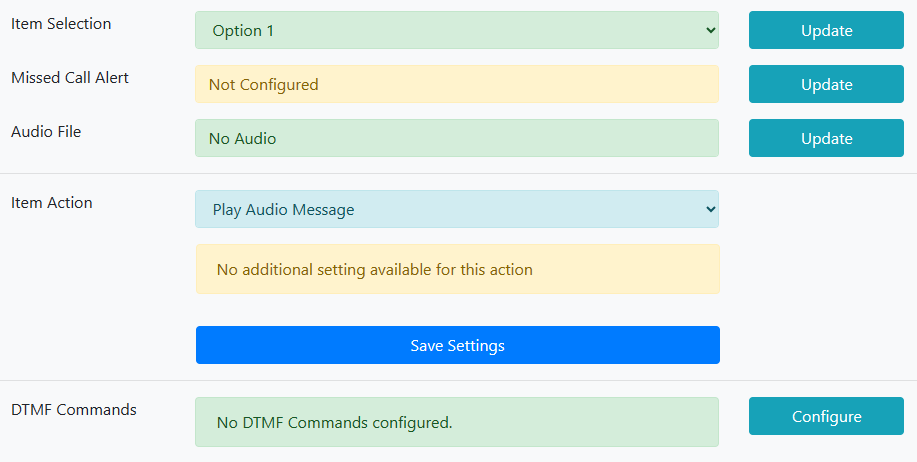
Item Action is what you want to happen to the inbound call once it hits this node. You can choose one of these options:
Play Audio Message: Play's your audio then ends the call.
Deliver to Single Destination: This sends the call to a single softphone agent.
Deliver to External Destination: Lets you choose any of the External Destinations you've setup.
Deliver to Huntgroup: Send the call to a huntgroup of Softphone agents.
Queue Caller: Send the call to a queue.
Voicemail: Send the call to one of your Voicemail inboxes.
Alternative IVR: If you've setup any other Switchboard call flows you can send the call there.
Schedules
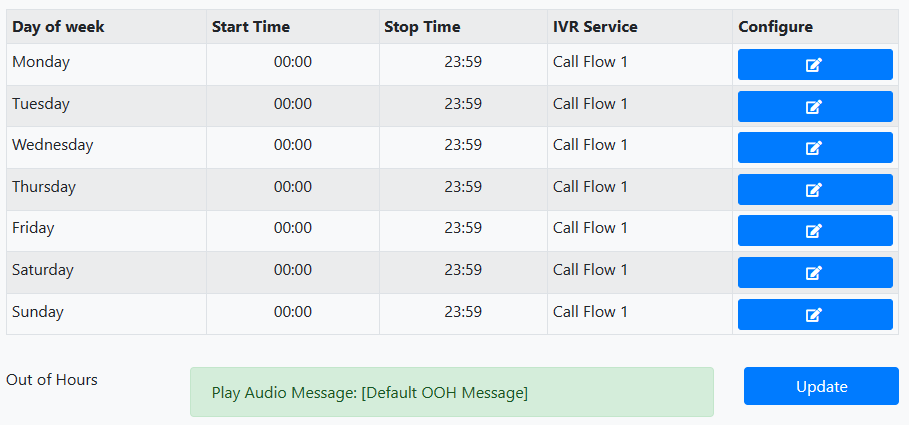
You must set a schedule for your call flow so the IVR knows when it's available

Click on Add New, give it a description and click Save. Now click on Working Hours then Add New and choose the Start and Stop times on each day.
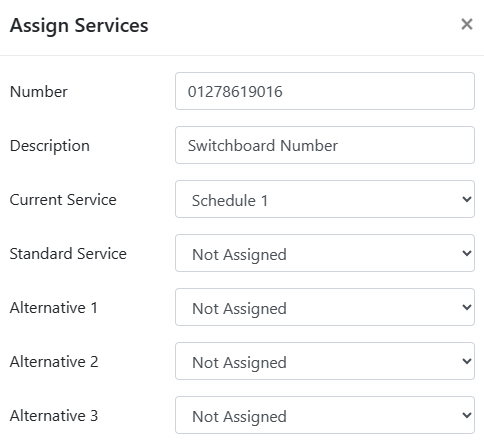
Assign the Service to a Number
Now attach the service schedule to the number by clicking on Configure

And choosing the Schedule from the dropdown, then Save
If you have any questions please submit a Helpdesk ticket.