Quick Start Guide
![]() Updated
by
BCH Digital Support
Updated
by
BCH Digital Support
Setup a new Extension
- Setup the Destination Manager > Account Defaults

- When clicking in to Account Defaults it will set a number of time and extension defaults for you
- Update the CLI Presentation in Default Outbound Settings to a valid number. If the CLI is not a valid number we could block all outbound calls.
- Create a destination in Destination Manager > Destinations > New SIP
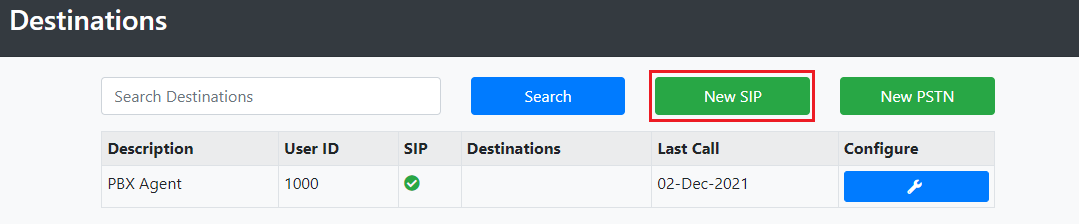
- Update the User Details
- Note down the 4 digit User ID and Password, you'll need this for logging in to the payment phone
- Enable the Extensions > SIP Endpoint
- Enabled Card Payments
If Card Payments aren't enabled it's because there's no Payment Module attached to the Client ID. Contact Support to have this enabled. You can carry on with the rest of the PBX setup in the meantime.
Setup a Huntgroup
- Create Huntgroup in Switchboard > Huntgroups

- Add an extension to the Huntgroup
- Change Distribution if more 2 or more extensions added to the Huntgroup
Setup a Queue
- Create Queue in Switchboard > Queues

- Assign the Huntgroup
- Update the Enter Audio to the Queue Comfort audio file
To upload custom audio see "Uploading custom audio" below
Create a Voicemail inbox
- Go to Voicemail and click +Add New

- Configure how you want the voicemails to be delivered
Create Call Flow
- Go to IVR Call Flows and click +Add New

- Edit the Welcome node to play your Welcome audio
- Create Menu node below Welcome
- Edit the Menu node to play your Menu audio
- Create as many nodes below Menu as you like. For example:
- Create a new node below Menu
- Change Item Action to Queue Caller
- Select your Queue
- Update the Play Whisper audio to the Whisper audio file if you have one loaded
- Change Item Action to Queue Caller
- Update Failure Action
- Create a new node below Menu
- Create as many nodes below Menu as you like. For example:
- Edit the Menu node to play your Menu audio
Create a call Schedule
- Go to Schedules

Create a new schedule and setup the Time of Day. If you don't add any Time of Day settings will assume you want the service to run 24/7.
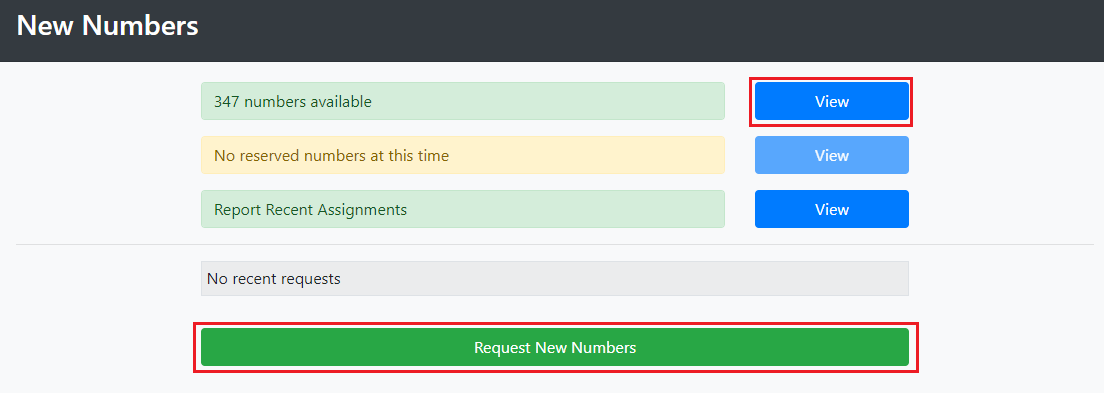
Ordering and assigning new inbound numbers
Go to Management & Reports > Number Management > New Numbers

You can view the current available numbers from the number pool ready to take now, or you can order new numbers. Newly ordered numbers take a couple of minutes to be live.
When you pick a new number you can assign it one of 2 services. Switchboard will be your inbound number for the Hosted PBX and Direct Destination will be your inbound number direct to the extension/agent.
Assign Inbound number for Switchboard
Go to Call Handling > Switchboard > Numbers

Click on Configure on the new number and assign a call Schedule to Current Service
Assign Inbound number for Extension
Go to Call Handling > Destination Manager > Inbound Numbers

Click on Configure then update the Destination to the extension/agent
Uploading custom audio
You can upload your Welcome, Menu, Whisper and Queue Comfort messages in the Audio Database found under Call Handling > Global Settings. All files must be in .mp3 format

Demo audio can be downloaded here.
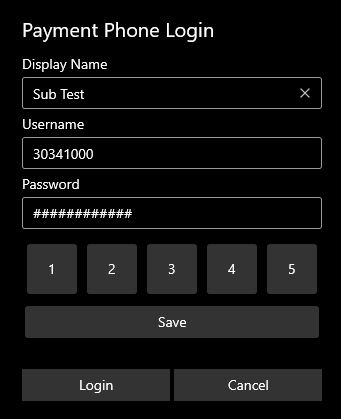
Download and start the payment phone
Download our Payment Phone beta from the Microsoft Store
https://www.microsoft.com/store/productId/9MWQXNK210P7
Put in your Username and Password, give it a Display Name and click Save. Then click Login to start the phone.