Virtual Receptionist Quick Start
![]() Updated
by
BCH Digital Support
Updated
by
BCH Digital Support
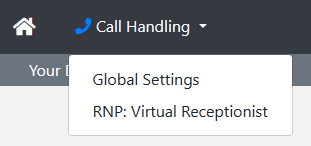
Access the service
Go to Virtual Receptionist (VR) by going to the Call Handling service
Configure the service
Find the number you want to edit and click on the Configure button on the right hand side.

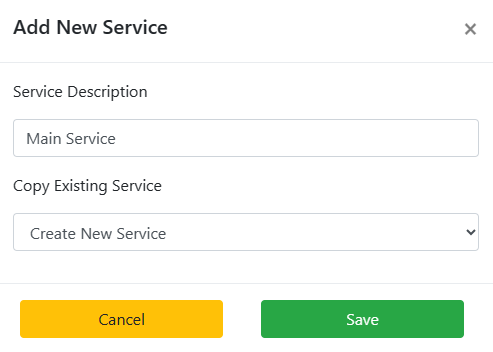
Click Add New

Give the call flow a description and click Save. If you have an existing service you want to copy choose it from the dropdown.
Click on the Call Flow button

Call Flow Designer
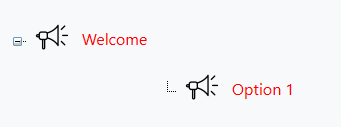
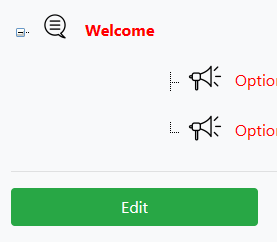
Build out the call flow you want before configuring any of the nodes. First click on the Welcome node and then click Add Below, give it a name and then click Save. By default this creates an Audio node.
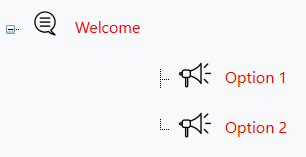
If you click on Welcome again and Add Below again, it will turn the Welcome node into a Menu node. You can do this function to any node, aslong as there are 2 or more nodes beaneath it.
Editing a node
Welcome node:
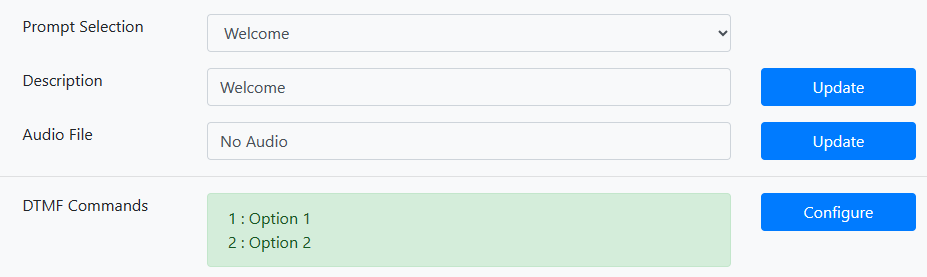
Click on the node you want to update and then click the Edit button
You will now see the Prompt you are currently editing, the Description and any audio associated with the node. There is also a DTMF map of what the customer can use.
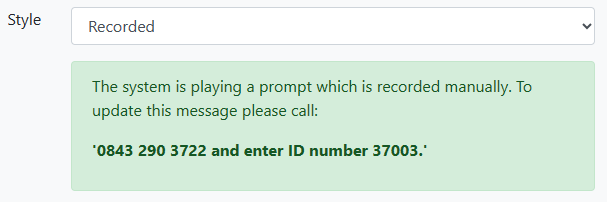
To change the Audio click on Update and choose from the following dropdown options:
Recorded: Dial a phone number, put in the ID number and record a message. It will then be deployed to the IVR.
Uploaded: If you have some audio already you can upload it here.

Option node (onward routing):
Click on the Option node you want to configure and click Edit.
You will see again the Prompt selection you're working on, the Description and any audio for this node.
You will also see the Onward Routing dropdowns. This is where you will choose one of the RNP services (one2one, one2many) built on an 08888 number for routing to the onward destination. Once you've chosen click on the Update button.
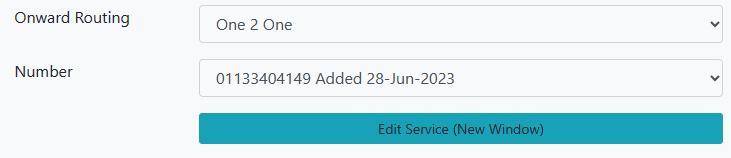
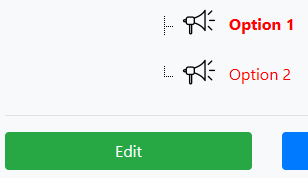
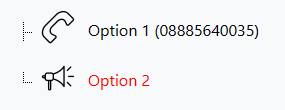
The node will then change icon and show the number that it routes to.
Once you have completed the flow configuration click on Back.
General Settings
Click the Update button to edit any of the settings you want to use.
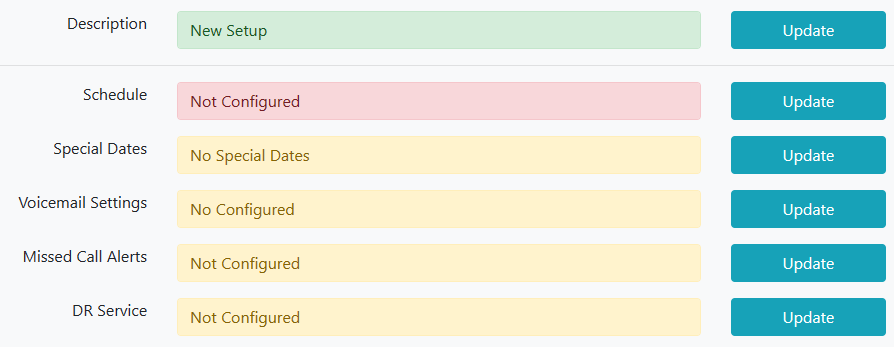
For the DR service configuration, create another service as above (Add New) and choose that service from the drop down.