Route by Voice 🗣️
![]() Updated
by
BCH Digital Support
Updated
by
BCH Digital Support
What is it?
This service allows calls to be routed in 3 different ways:
Direct Routing: Deliver inbound calls to a single destination or a huntgroup.
Speech Routing: The caller can say the name of the destination, huntgroup or keyword to be routed through to them.
Tone Routing: The traditional IVR using the keypad to route calls.
Accessing the service
Go to Call Handling > Route By Voice
Service Settings
Click on Services in the sub menu.
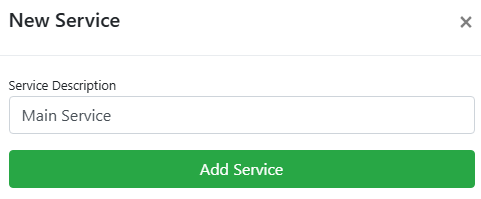
Click on the + on the right hand side and provide a Service Description, then click Add Service.
Click on Settings to configure the service.

Before configuring the service
In order for the flow of the service configuration to go smoothly we recommend you complete these 3 sections first; Add a voicemail inbox, at least 1 destination and if needed create a huntgroup. Each one can be found in the sub-menu as outlined in red in the below images:
1. Add Voicemail

Click the + on the right hand side
Description
Give the inbox a name
Audio Folder
You can choose the [Default Message] or you can upload Audio to Atlas Admin Tools. They will be selectable once this is complete.
Action
Play audio only [Default Message]
"There is no one available to take your call at this time, please call back again." [Default Message]
Take a message and email as attachment to a single address
"There is no one available to take your call at this time, please leave a message after the tone." [Default Message]
Take a message and email as attachment to multiple addresses
"There is no one available to take your call at this time, please leave a message after the tone." [Default Message]
Email Address
Enter in a single email address or choose from an email group created here.
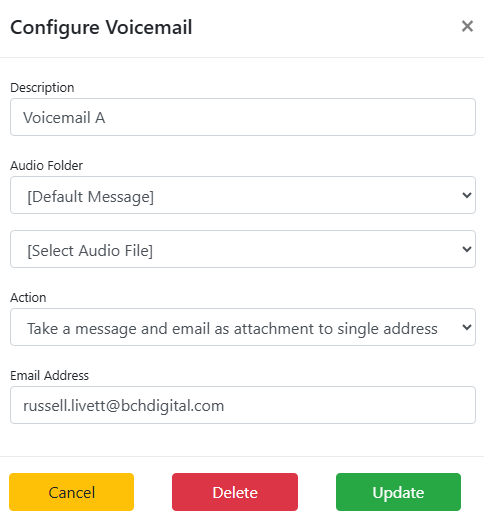
Click Update to complete the voicemail setup.
2. Add Destinations

Click the + on the right hand side

Destination
The destination number calls are to be routed to. By default this can be 01/02 & 07 mobile numbers.
Description
A description of the destination entry.
TTS Name
The name of the destination read out to the caller before being routed.
Ringtime Timeout
Set the timeout before the call ends between 5 seconds and 2 minutes.
Voicemail
If the call doesn't connect it can be forwarded to a voicemail inbox. Click Add New.
Configure Destinations
Enabled - Quickly enable/disable destinations using the toggle.

Configure - Allows you to edit the above settings.
Hours - Set the hours in the day this destination is available. If the hours are blank it will follow the service working hours set here.
3. Create Huntgroups (optional)

Click the + on the right hand side

Description
A description of the destination entry.
TTS Name
The name of the huntgroup read out to the caller before being routed.
Stop On Busy
If a busy status is returned you can either Stop all routing or continue until Answered.
Loop Destinations
If there's no answer or continue routing is selected above, choose how many times to loop the destinations in the huntgroup between 1-5 or continue until answered.
Voicemail
If the call doesn't connect it can be forwarded to a voicemail inbox.
Click Add New.
Adding Destinations
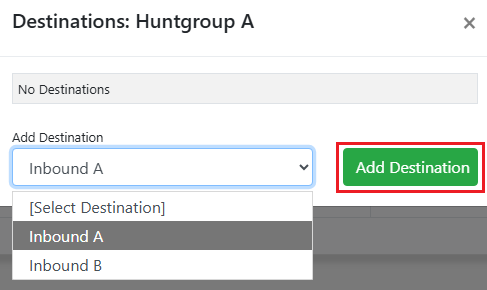
Click on the Destinations button of the Huntgroup you wish to add to.
Choose one of the added Destinations in the dropdown then click Add Destination.
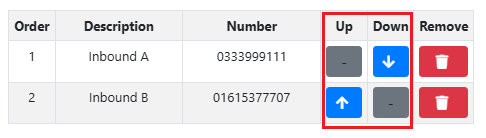
Huntgroup destinations are dialed sequentially, and you can change the order using the Up and Down arrows.
Main Service Configuration
Click on Services in the sub menu

Click the Settings button.

Service Description
Update the service name.
Working Hours
Click the + on the righthand side.
Day of week
Choose each single day, Monday to Friday or Monday to Sunday.
Start
The time in 24h the service will begin to take calls.
Stop
The time in 24h the service will stop taking calls.
Call Recording
Calls Not Recorded / Calls Recorded.
These can be listened to using the Call Recordings service.
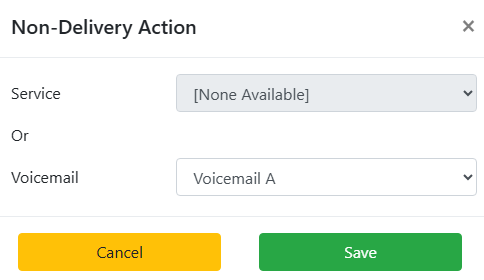
Non Delivery Action
In the event the call can't be connected it can be routed through to another service you setup or it can go to voicemail.
Special Dates
Add dates when your office is closed (eg bank holidays) or unavailable (eg training) so that calls get routed to another service or voicemail. This allows one off routing changes on the day specified without changing the main service setup.
Click the + on the right to add a new Special Date. All UK bank holidays for the next 5 years are selectable, and you can also create your own.
Missed Call Alerts
Select an email group or enter a single email address for alerts to be sent to.
Welcome Audio
The audio the customer hears when they first dial into the number.
Whisper Message
Set the audio the destination will hear when they pick up a call.
CLI Presented
Leave blank to have the number of the caller displayed to the destination or enter in a CLI of your choosing.
Service Routing
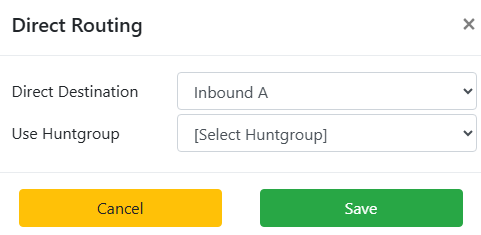
Direct Routing
Route calls to a Destination or a Huntgroup.
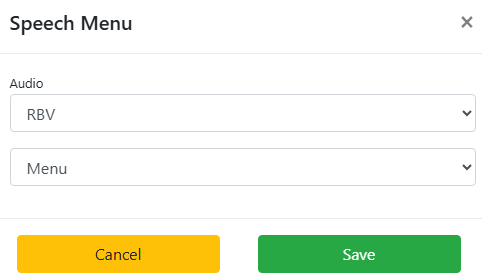
Speech Recognition Routing
Routing calls by voice can be achieved by adding keywords for Destinations and Huntgroups and the customer saying them down the line instead of using their keypad like in Tone Menu Routing.
Menu Audio
Add the IVR Menu audio by clicking the the Update button

Choose the Audio folder from the dropdown and then the audio file and click Save.
Recognition Attempts
How many times the service will attempt to match what's said to a keyword. If the Recognition Attempts limit is hit, calls can be automatically routed through to the first available option of the Tone Menu Routing setting.
Confirm Pre-Connection
"Connect Caller without confirmation" - Route the call straight through to the destination or huntgroup.
"Play TTS name prior to connection" - The service will take the TTS Name field in Destinations or Huntgroups and say it back to the caller. A confirmation is required by the caller that this is the correct routing.
"Connecting you to <TTS Name>. To cancel say no after the beep." saying No will restart the Menu Audio.
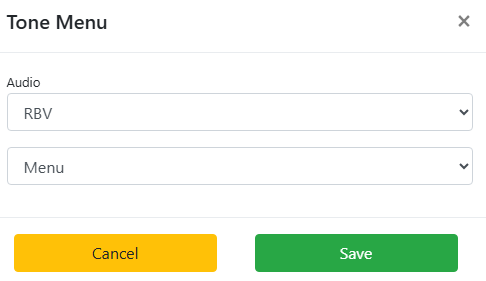
Tone Menu Routing
Can be used as a traditional keypad IVR or used as a backup routing system for Speech Recognition Routing, should no caller keyword input be matched to a setup keyword in the speech recognition process.
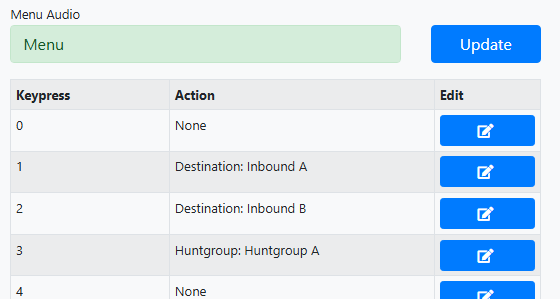
Menu Audio
Add the IVR Menu audio by clicking the the Update button
Choose the Audio folder from the dropdown and then the audio file and click Save.
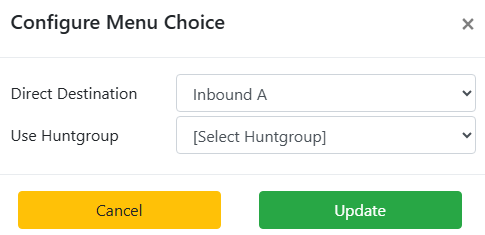
Tone Routing
Choose a Keypress option then click the Edit button.

Choose if the call is to be routed to a Direct Destination you've added or a Huntgroup.
A completed service can look like this.
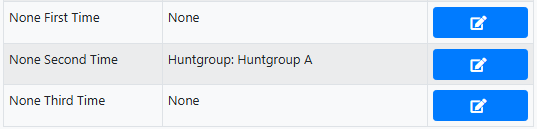
Non-selection
If the caller doesn't press any option you can have the call routed through to a Destination or Huntgroup automatically after no selection on the 1st, 2nd or 3rd repeat.
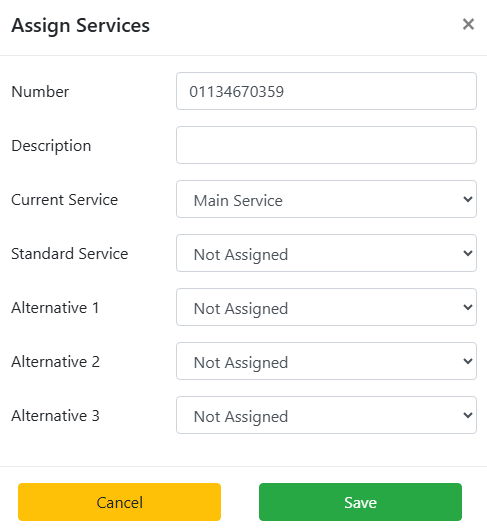
Numbers

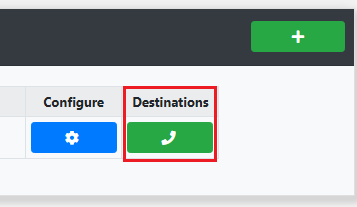
Click Configure on the number you wish to assign a service to.

Now choose the Current Service and click Save.
Speech Log

Shows all calls that routed through Speech Recognition Routing showing details of the call
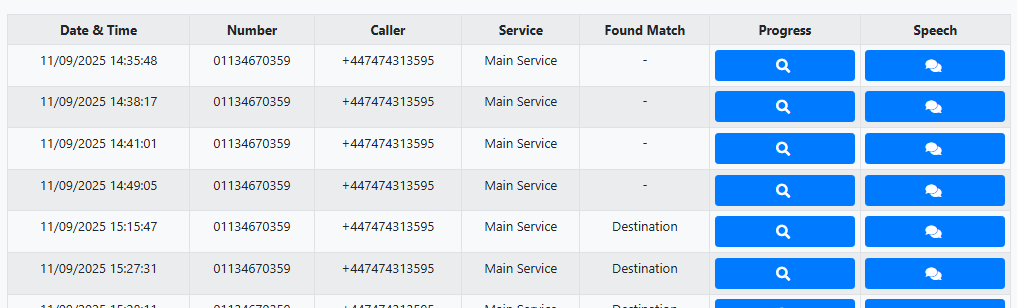
Date & Time
The date and time the call was made.
Number
The number dialled by the caller.
Caller
The number the caller called from.
Service
The service the number is assigned to.
Found Match
Found a match with a Destination or Huntgroup.
Progress
Show's the step by step progress of the call including what the service heard and how it routed.
Speech
All speech recognized for routing is displayed.